不能没有脾气。但是:
好脾气不一定高尚,也不一定带来好运,但坏脾气肯定是瘟神,会把好运气赶跑。命运派来的贵人,未必一开始你就认得出,很多人因坏脾气把好运气赶跑了,然后运气就更坏,然后脾气也更坏,一个恶性循环就产生了。——水木丁
控制脾气。
戾气
因工作性质见过不少人,从一些人的眼角、嘴角可以感受到他们浓郁的戾气。
有的人带孩子来买衣服,用了几块钱(真的就是几块钱或十来块钱的衣服),然后骂骂咧咧的,孩子闭着嘴低着头,目光闪躲呆滞无神。我也只能在心里默默叹口气。
戾气并非绝对的贬义词,普通人甚至个别挺好的人都会有戾气。但戾气肯定不是好的东西,对自己对身边的人都不好。他们大多不如意,或者缺钱,或者做着不喜欢的工作,感受不到尊重和爱,彷徨迷茫。又没有足够的智慧和良好的心态去排解。
简单点说,底气和智慧不足。
而这两样东西都自能靠自己。
我也见过一些老人,衣着简朴,而眼神充盈着平和的善意和笑意。
提升气质的一些方法
微笑
少说话
提升皮肤质感
不断学习
经常鼓励自己
运动
树立积极信念
别再无精打采
告诉自己还年轻
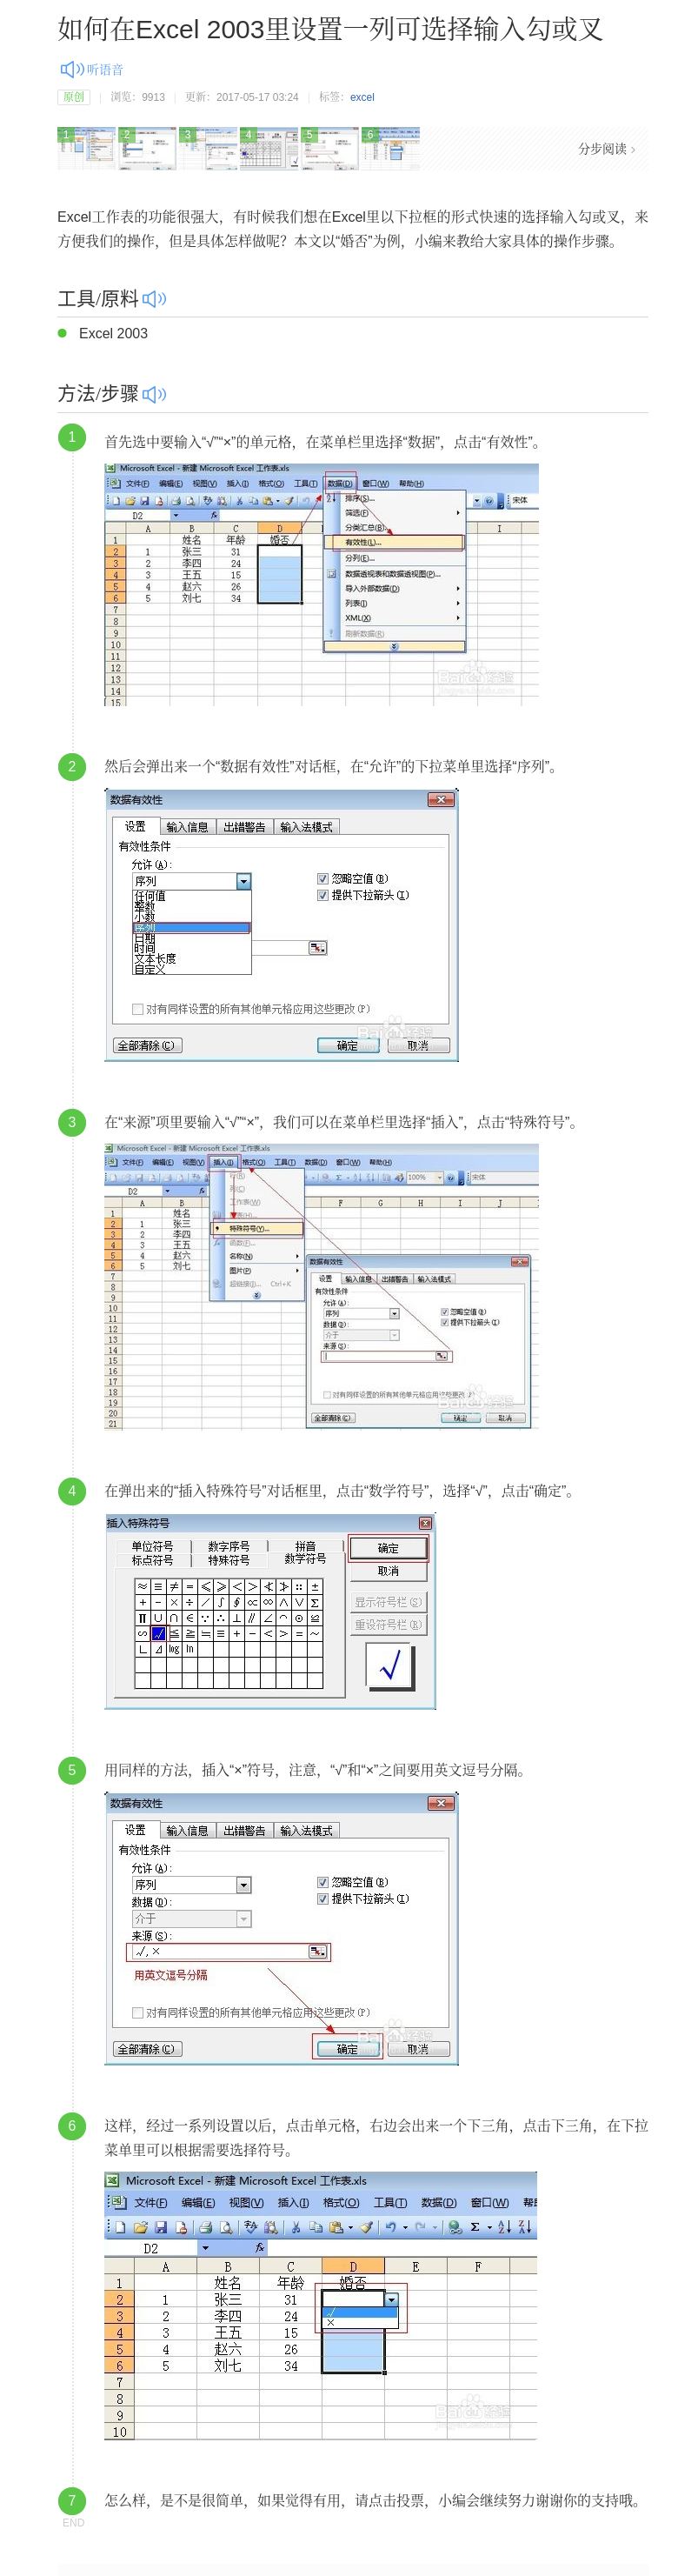
Excel表格设置可选择输入√或×
WPS:
选中1个单元格,菜单栏选择:插入,特殊符号,数字符号,选择“√”,打上英文逗号,再选择“×”,然后复制。
数据,有效性,(允许)序列,(来源)粘贴,完成。
Excel:
(来源步骤处)可以选择插入,符号。
Commands About Linux
2016-03-02 21:26
shell: 命令行解释器
Linux命令格式: 命令名 [选项] [参数1] [参数2] ……
命令与参数之间,参数与参数之间用空格隔开
立即关机: sudo shutdown-h now 或者 sudo halt (Ubuntu不行,在最后画面不动,停机但不关电源)或者sudo poweroff
立即重启: sudo shutdown-r now (Ubuntu不行)或者 sudo reboot(行)
ls
cd dir
复制: cp /.../.../sourcefile /.../.../targetfile 有重命名的功能
cp file1 file2 #在当前目录为file1创建一个副本file2
cp file ~/target/ #复制当前目录下的file到主目录下的target目录中,保持原文件名
cp file1 file2 ~/target/ #把file1、file2俩个文件复制到target目录,保持原文件名
-p: 保持文件属性 cp -p file ~/target/
-R: 若被复制对象有目录,则把该目录下的子目录和子目录下的文件都复制
移动: mv #有重命名的功能
mv file1 file2 #把file1重命名为file2
mv file1 file2 ~/target/ 把这两个文件都移动到…… #最后一个参数(/target/)必须是目录
创建目录: mkdir dir
删除目录: rmdir dir (空目录)
删除文件: rm file
rm用于删除文件,若使用参数-r或-R,则可删除目录
-r,-R:递归删除,无论目录下是否有东西
-i: 删除前先询问
-f: 强制删除
rm -i test*: 删除所有文件名以test开头的文件
rm -rf test/: 删除目录test,无论是否是空目录
超级用户:sudo su -
统计文件信息: wc [-l] [-w] [-c] filename (行数,单词数,字符数)
--version
--help
man
Linux中,一个文件是一组数据的集合,可理解为一个字符流或字节流,Linux并不为文件设计内部结构,而是把文件都理解为无结构的数据集合。
所以:新建并打开文件可直接说编辑该文件即可(test.c文件之前并未存在):
sudo gedit test.c
麦田群鸦

两代人,城乡之间的矛盾
我认为我母亲这一代人和我这一代人是相当矛盾的。
母亲是61年,我是89年。她经历了文革、饥荒这些国家非常动乱艰难的时期。而我成长时是国家改革开放,与西方国家接触的时期。我们都处在老旧传统与新世界新思维的夹缝中。同时我是农村的,现在是我们国家农村城镇化的过程。
一个新旧思维,一个城乡差距,把我们掐得够呛。
比如我,我是能接受西方思维观念的,关于晚婚,不结婚,丁克,性开放,同性恋这些,我都是司空见惯的了。而我母亲这一代人,能接受么?我不认为。
农村城镇化这一点,也是压着我们这一代的许多人,说白了,就是在城市买房。这几年的房价的飞涨……
希望下一代人,不必承受这些。
For Someone
我们都会想许多东西,把一部分写下了,有一些公开,有一些只给自己看。因为我们知道,这些文字充满了稚嫩与羞涩。
而其实我们希望,有一天,有一个人说:我看完了你写的文字,我觉得你还有一些没有公开。我想看。
不能说的秘密

文字
文字让人在柴米油盐里摸爬滚打之余,还有一丝灵气。